AMIGURUMI EYES EMBROIDERING TUTORIAL –
HOW TO EMBROIDER ALMOST PERFECT AMIGURUMI EYES
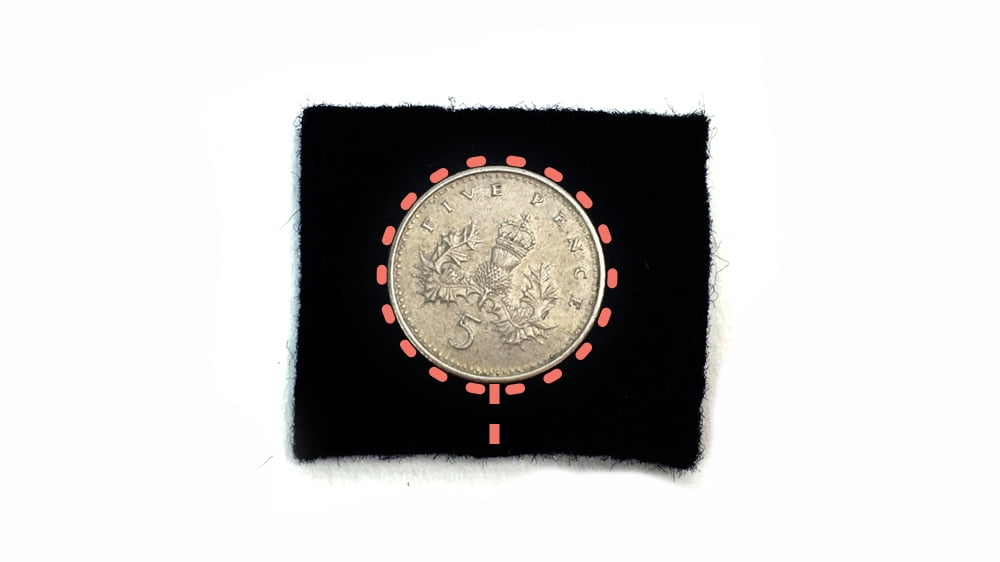
Step 1. Decide what size of the eyes you want or make the one suggested by the pattern. If you don’t know what size would look good. Cut out various size, round circles (in pairs) from dark colour paper or a piece of felt fabric as a ‘pretended eyes’ and place them on your amigurumi to see how you feel about them. Cut out around the object in a continuous line as indicated by the dotted line on the photo below.
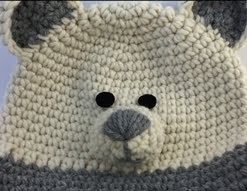
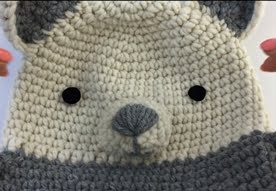
Step 2. Once you chosen the eyes size, think of the eyes placement. Try putting them closer and further apart and see what face expression each position gives you and decide which one you like the best. If you don’t know what looks best try looking for an inspiration on the internet. Type in to google whatever you are making like: ‘teddy bear’, ‘fox toy’, ‘elephant plush toy’ etc. Switch to view images and see what is the standard placement of the eyes for the character you are making.

Step 3. When you have your eyes in your chosen position, pin them in place or make one stitch in the centre to hold the eye in place. From now you have 3 choices of templates to help you embroider almost perfectly round eyes.
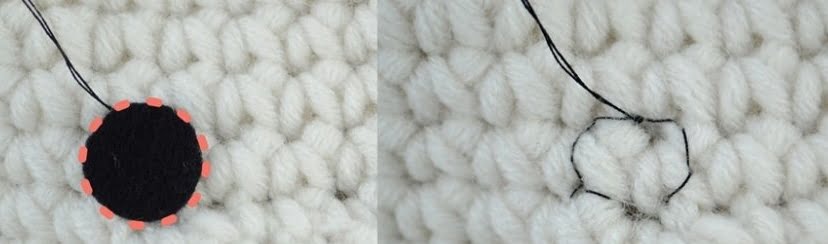
Template A) Using needle and black thread make few stitches around the edge of the paper/felt eyes to give you a guide for embroidering the eyes later. Unpin the dummy eye and examine the shape. If it’s not quite round (like mine on the picture below ) or turned out a bit too small. Make another circle just above it using the old circle as a guide (it’s easier to sew without the pretended eye in place). If it’s still not perfect, don’t worry, you can just correct the shape once you are embroidering the eye. If you don’t feel confident about correcting the shape while you sew then try methods B or C described below.
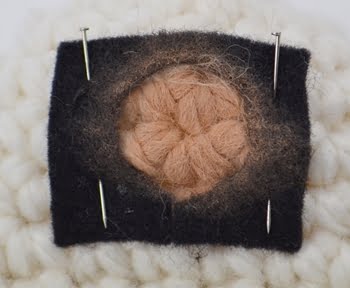

Template B) or use blush powder or light eye shadow (something that can be washed off if you are not happy with final eye positioning) to fill the whole eye area for the guidance. Take the template off and you have a perfect round shape to embroider over.
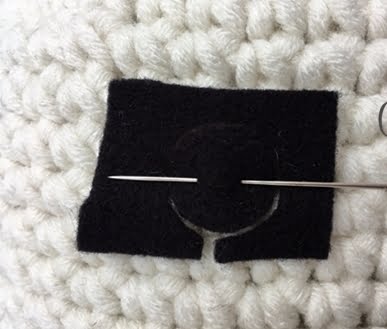
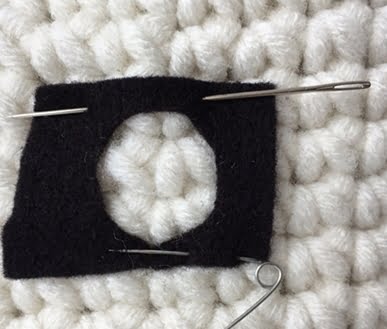
Template C) In this method you will need a piece of paper or a felt out of each you’ve cut out your dummy eyes, this will now be your template. Place the piece over the eye and take the eye off. Pin the template in place and embroider inside it.
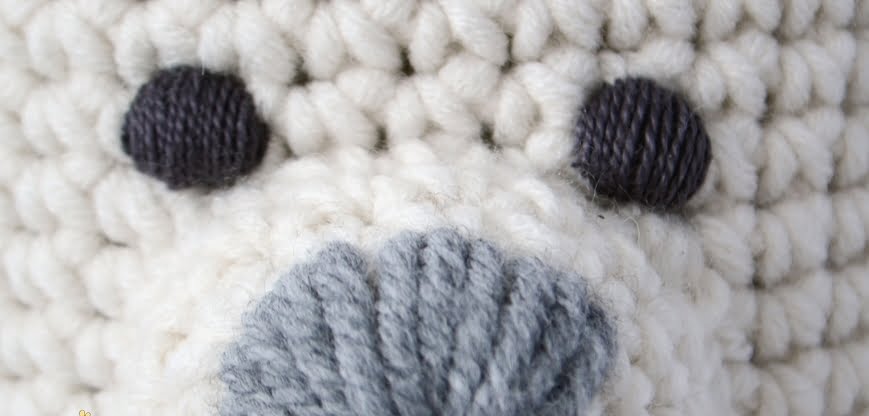
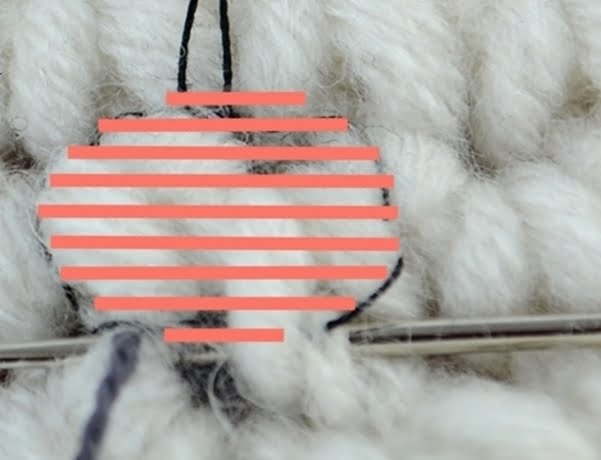
Step 4. Using large eye needle and embroidery thread start making horizontal overcast stitches starting at the bottom and going up. Use the guide made in step 3 and embroider going slightly over the circle guide in method A and C to hide the stitching or shaded area inside.

Step 5. Now this is a final step of the embroidery. If you are happy with how the eye looks you can finish at step 4. If you want the eyes to have a more 3D effect or if there are any imperfections in the eye, like too short stitches or gaps between the stitches, then now it’s the opportunity to correct it. Start making vertical stitches over the horizontal stitches you already have trying to correct the shape. Make the stitches one next to another to cover any gaps between the stitches from the Step 4.