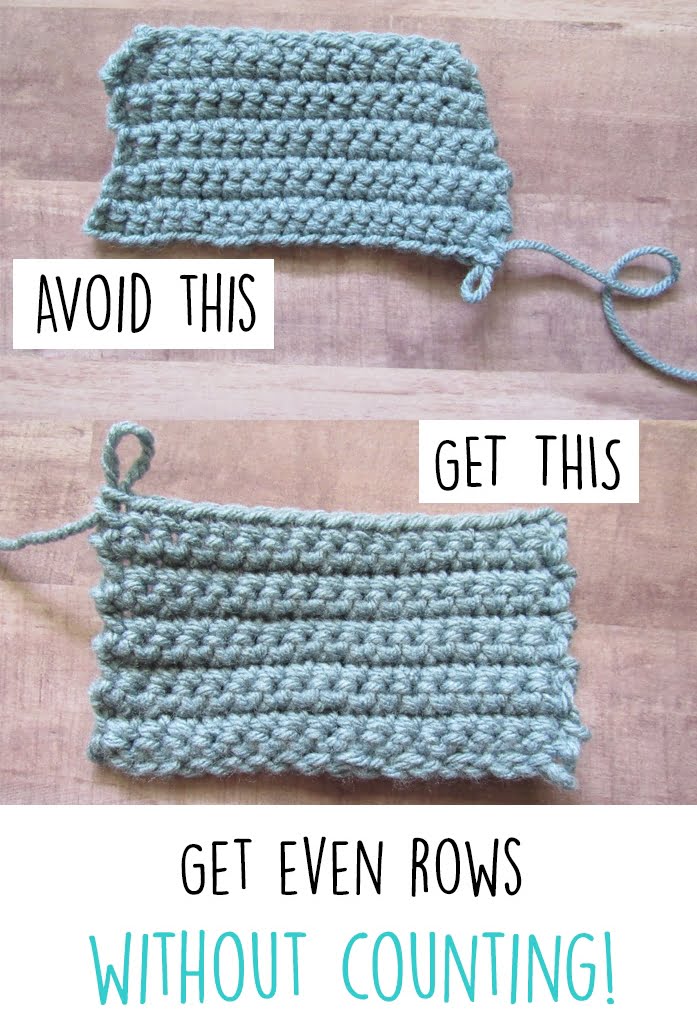
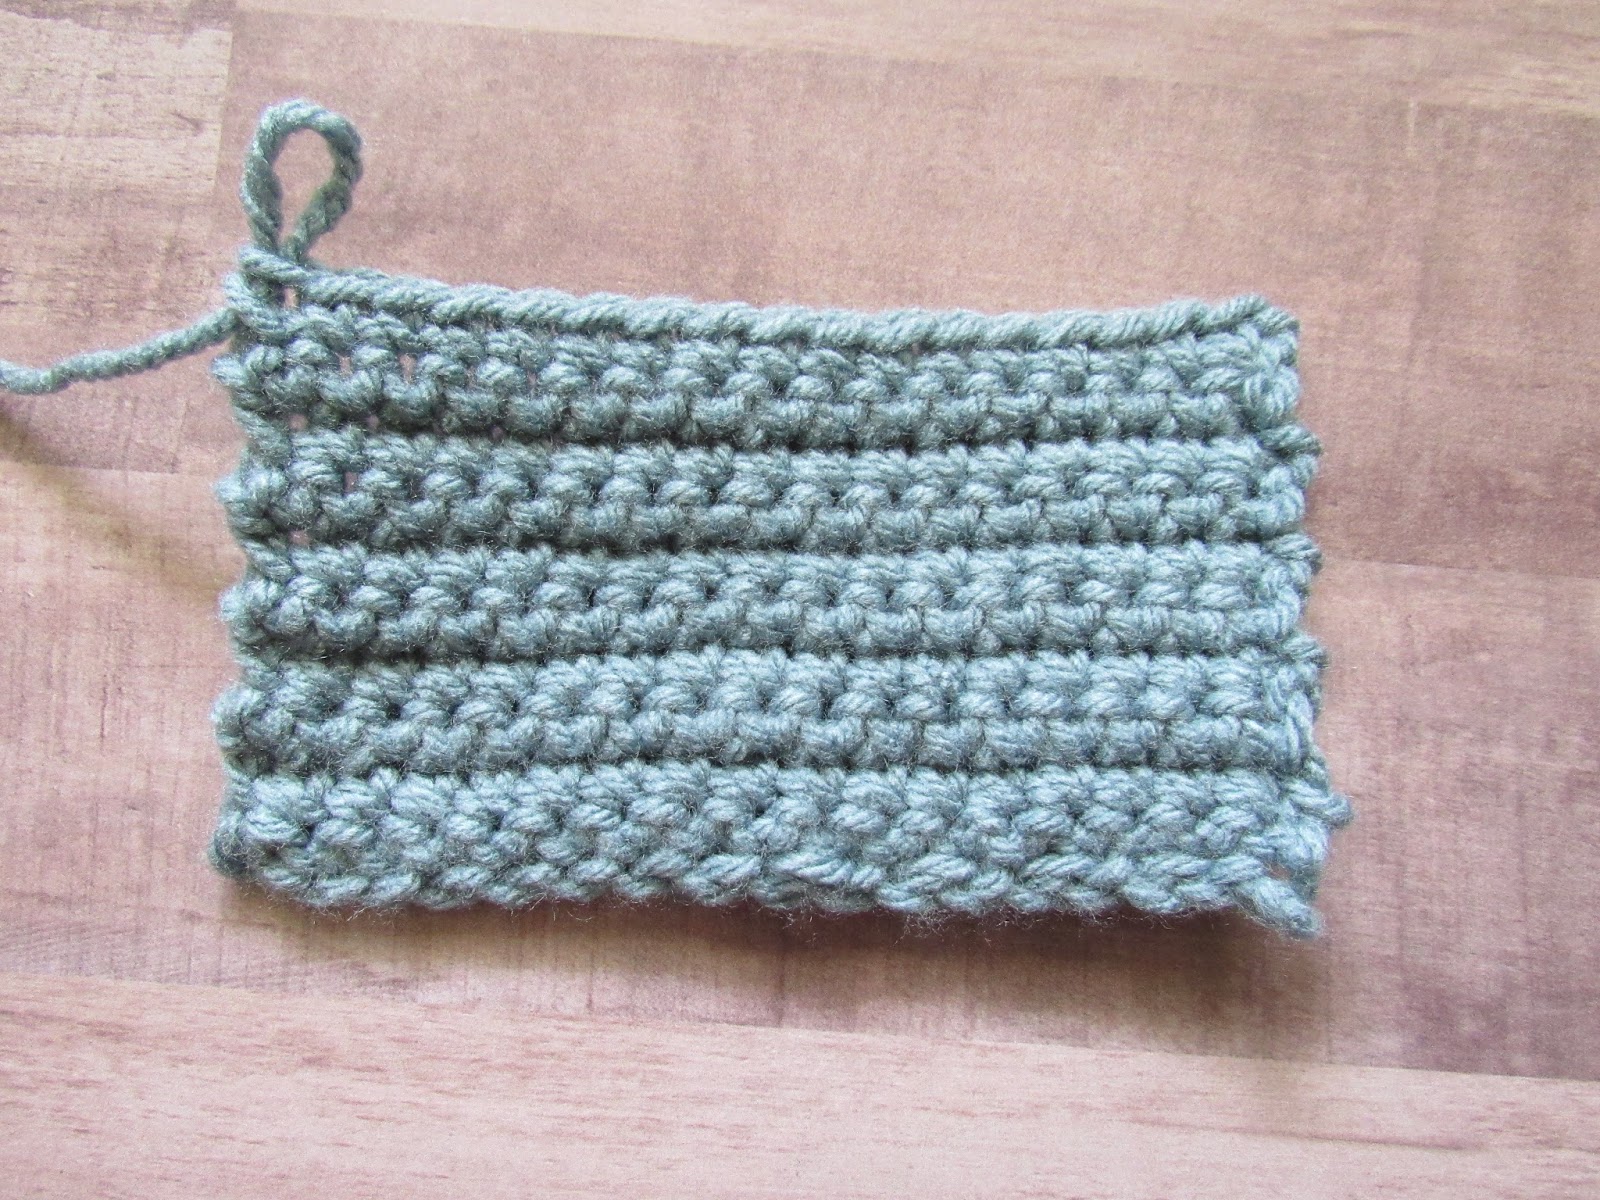
When you first start to crochet in rows as for the coasters in lesson 1, you may find your work starts to go wonky like the top image below. Each row must have the same number of stitches to avoid this, and with crochet it can be easy to miss the first and or last stitch of a row. To avoid this you can count the stitches as you make them each row. However for large items with many stiches such as blankets, this can become almost impossible. The easiest and simplest method is to mark the first and last stitch of the row with a stitch marker.
WHAT ARE STITCH MARKERS!
Stitch markers come in many shapes and forms from pre-purchsed varieties to homemade options such as bobby pins, safety pins, or even small pieces of yarn in a different color.
Place a stitch marker in the first stitch in every row you start.
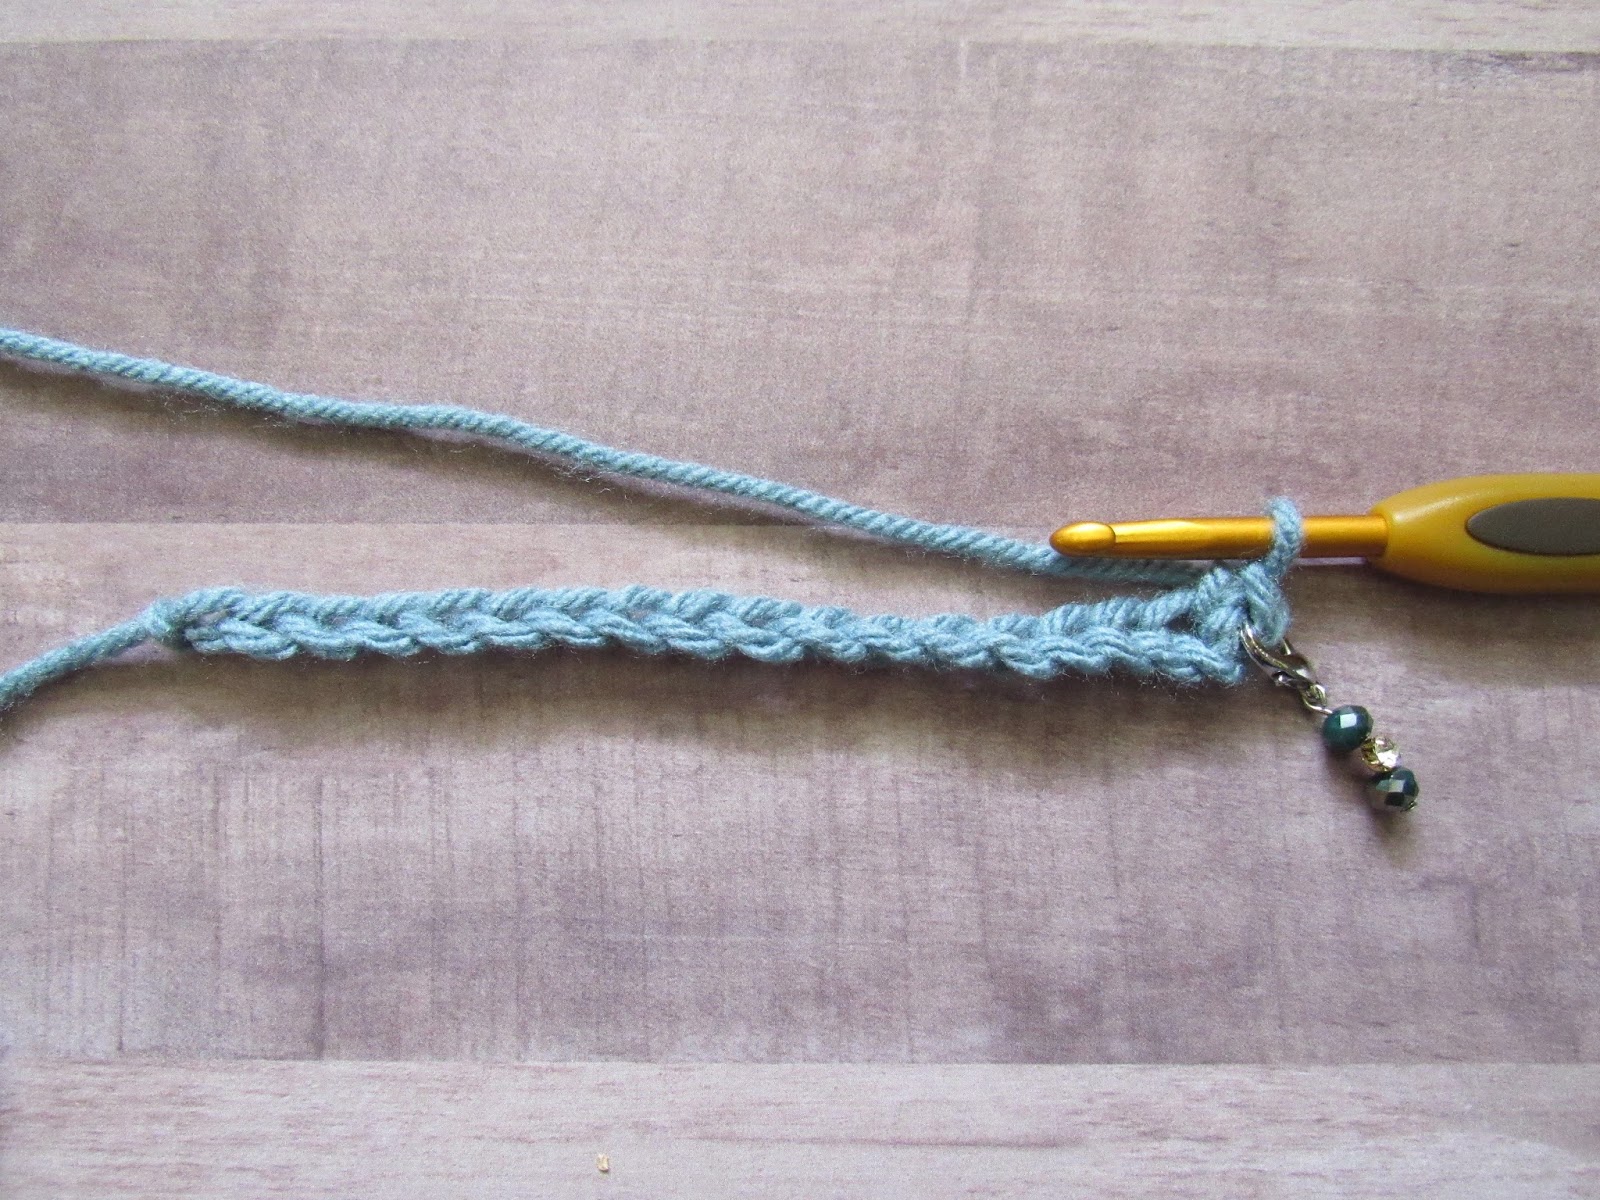
Once you have your chain and your first stitch of the row, place your stitch marker in that first stitch.
You can do this right away with your hook still in place, but if you are using a piece of yarn you will want to do another stitch then use your hook to place your piece of yarn in that first stitch.

Continue to make your stitches down the chain. It’s easy to see where the last stitch will be in the chain.
Turn your work, chain up (however many you need for the stitch you are using) and make your first stitch.

Place you stitch marker in the first stitch as explained above. Continue to make your stitches along the row.
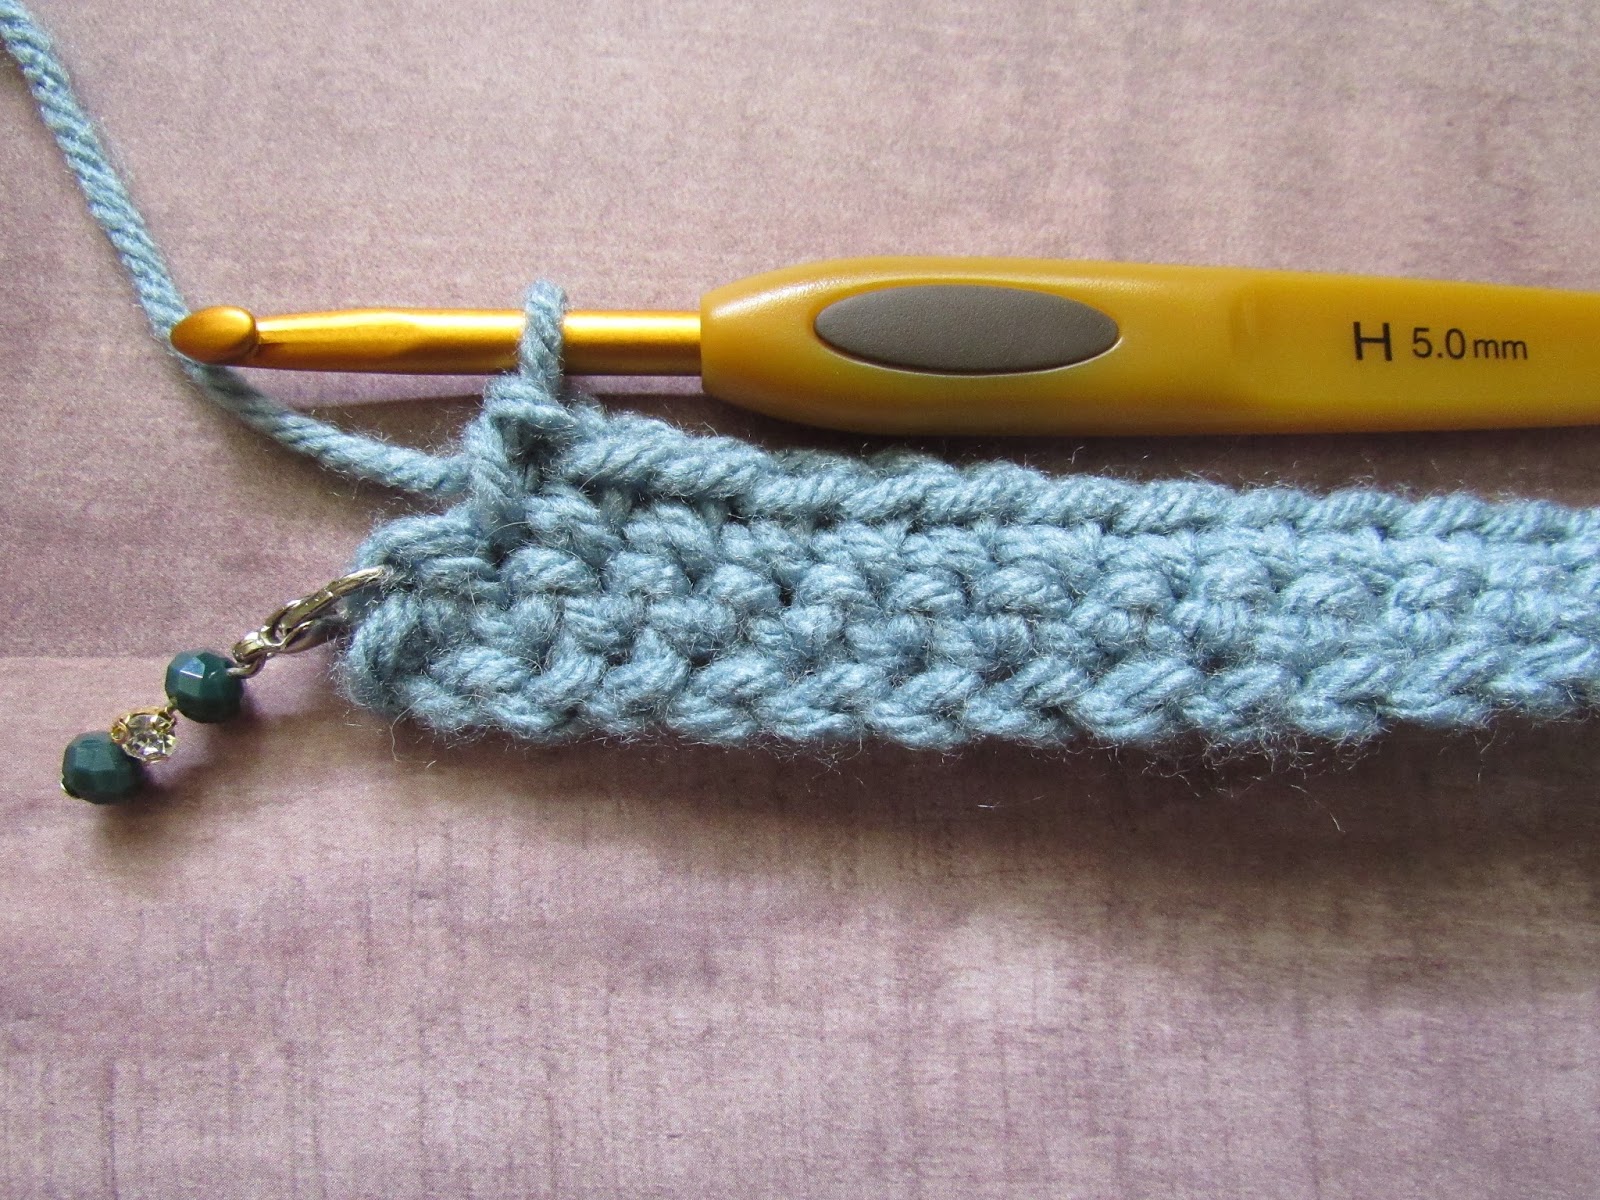
When you get to the end of the row, your first stitch marker will tell you where your last stitch will go! You don’t have to second guess if it is the last stitch.
All you have to do now is keep moving the stitch marker up after each row and place it into the first stitch of each row! And ta-da! Even rows!
This may get tedious when making a small dishcloth, but it will ensure you will have even rows and takes less time than counting the stitches across!
For a video that explains what stitch markers are click here