Below are step by step diagrams, videos on changing colours and embroidering basic facial features such as bear noses.
HANDY TIP: It is a good idea to practice your embroidery on a scrap piece of stiff fabric or felt. This saves making a mistake on your amigurumi project.
The video below shows how to make simple eyebrows suitable for the projects in Amigurumi Lesson 2. Skip ahead to about 2 minutes in the video to view how to secure the yarn, and make both eyebrows with the same piece of yarn. NOTE: the demonstration in the below video uses a knitted toy, however the methods for adding facial features are the same, just replace the reference to each knitted stitch to each crochet stitch.
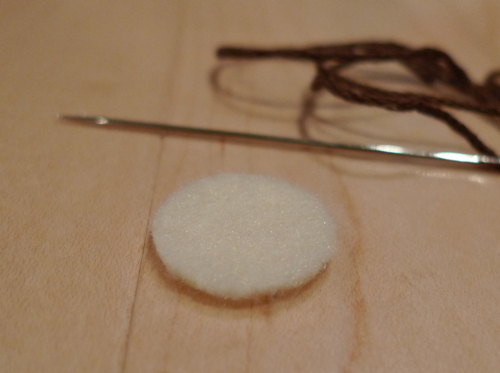
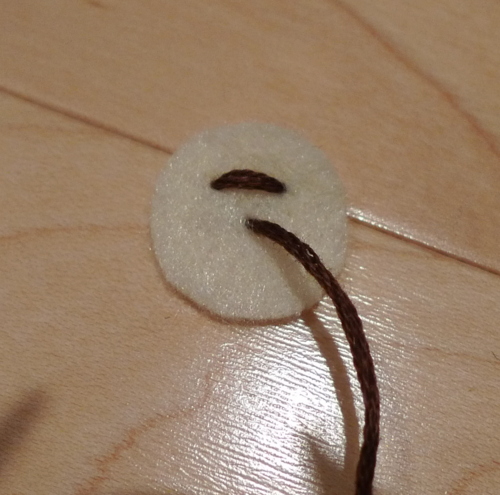
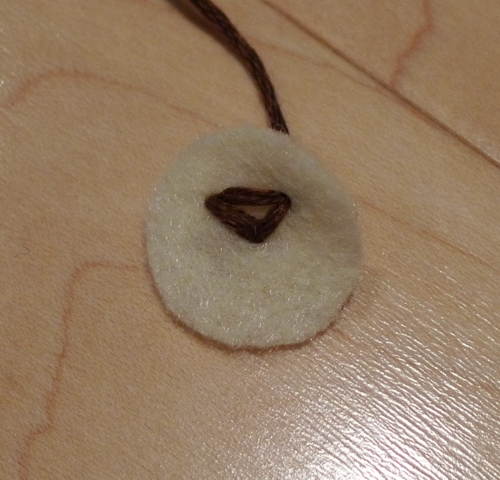
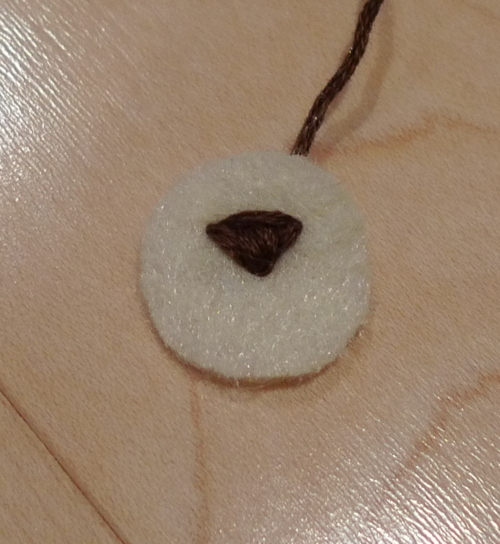
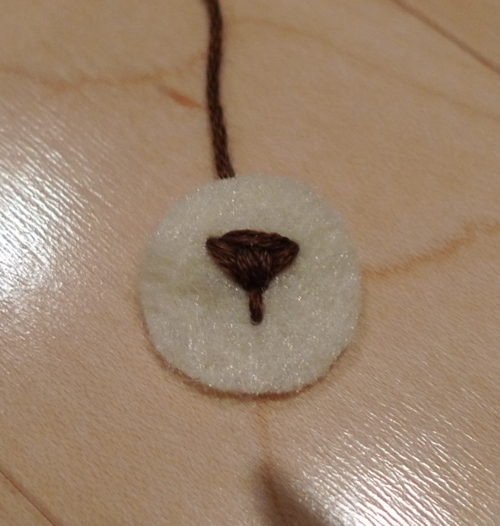
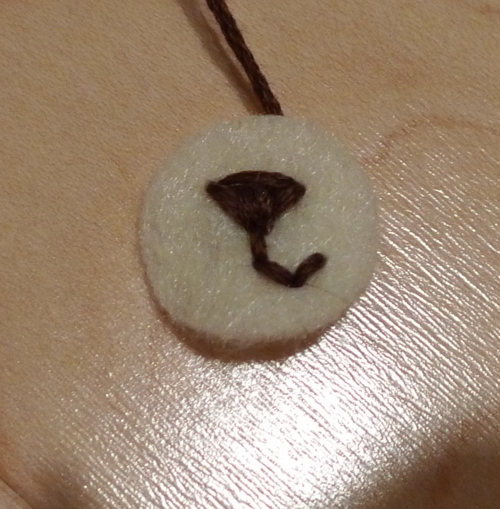
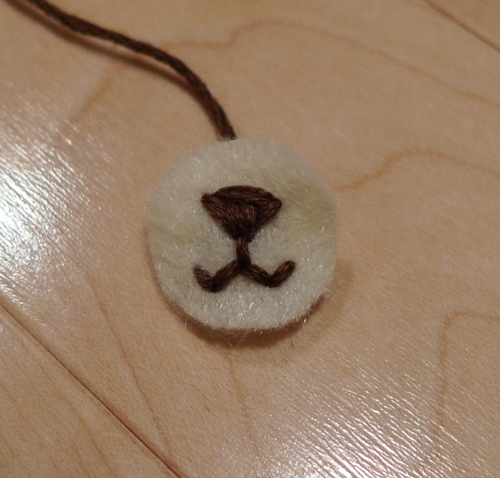
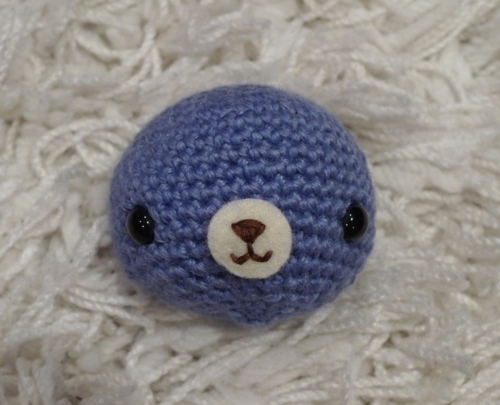
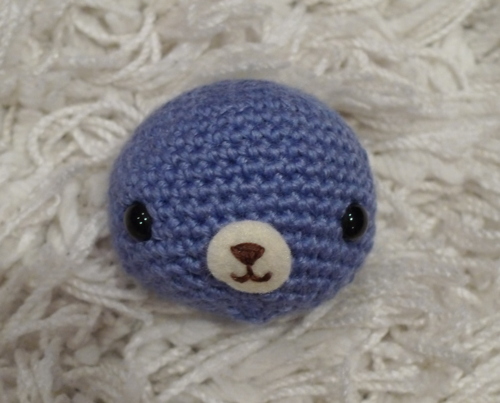
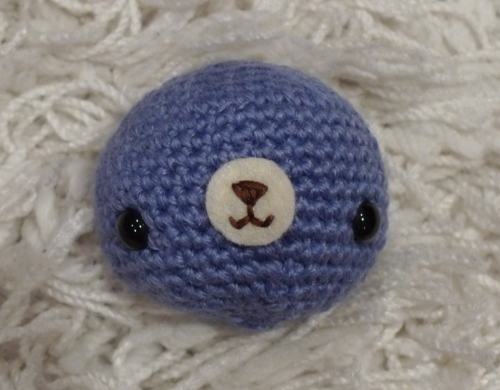
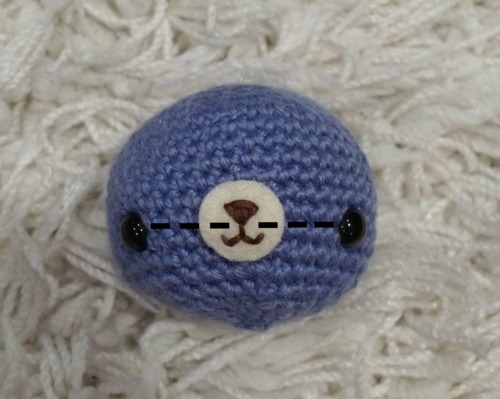
PRACTICE YOUR EMBROIDERY – Here are some step-by-step photos showing how to make one particular nose. Start off by cutting a small circular piece of felt and get your needle and embroidery floss ready!
.
How to crochet colours without showing the colour changes
Embroider Bear Nose
Another way to embroider teddy bear nose
Basic Hand Embroidery Stitches
Stitch placement and instructions for various types of bear noses
