Amigurumi is usually crocheted in sections, which means when you have finished crocheting, you will have a bunch of pieces that now need to be sewn together. In this post I will show you two different ways to sew an open piece to a closed piece, both of which I use, often in the same project.
Tip! Assembling your toys is easier, if you leave a yarn tail on each piece. Although, when making miniature toys, I sometimes leave a longer yarn tail on the head and use it sew up the whole toy.
Whip stitch
Whip stitch is the easiest and most straightforward way to sew your amigurumi pieces together. The only downside is, the stitches will be visible and if your stitches are not all straight or you don’t pull them tight enough, it can start looking a bit messy.
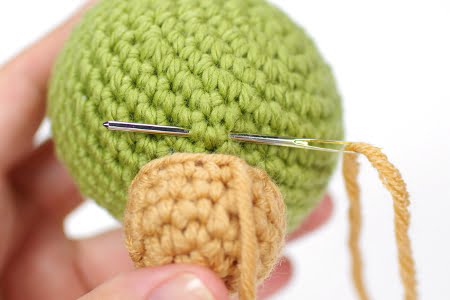
1. Holding the two pieces together, insert the needle right under the first stitch (your yarn tail) and bring it up under the next stitch. Draw the stitch tight.
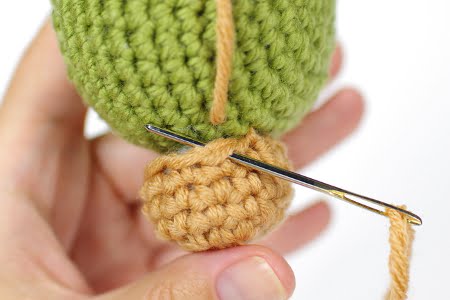
2. Insert the needle through the next stitch, going front to back under both loops.
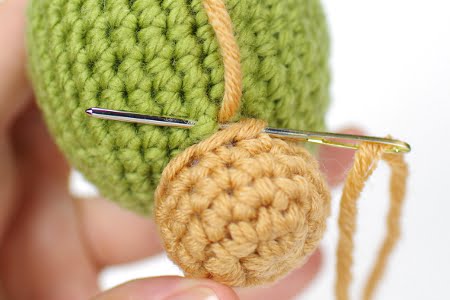
3. Go back down in the same hole you brought the yarn up last time and bring it back up under the next stitch.
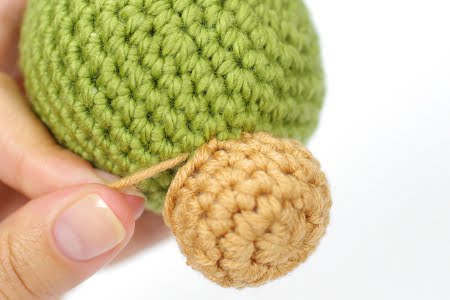
4. Draw the stitch tight.
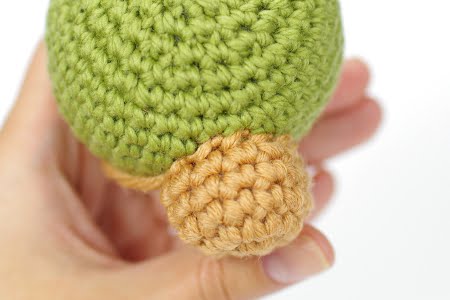
5. Just keep repeating steps 2 – 4, going all around your piece.
Mattress stitch
Mattress stitch or modified ladder stitch can be a bit more difficult to figure out at first, but its great in so many places. The stitches will be completely invisible, which makes the seam nice and neat, but the edge of the open piece will curve in a bit.
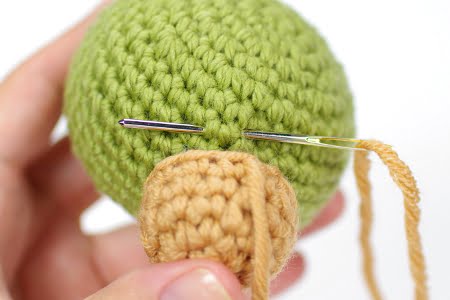
- Holding the two pieces together, insert the needle right under the first stitch (your yarn tail) and bring it up under the next stitch. Draw the yarn through.
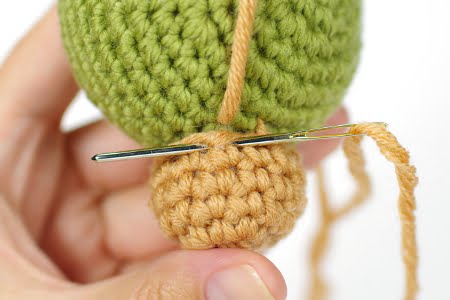
- Insert your needle behind the next stitch (the vertical post) and draw the yarn through.
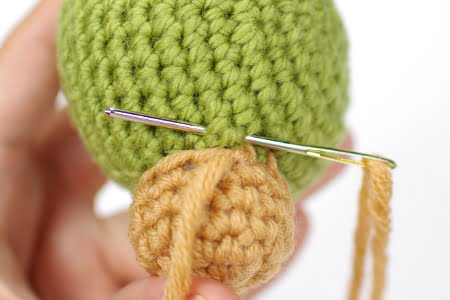
3. Go back in the same hole you brought the yarn up last time and bring it back up under the next stitch. Draw the yarn through.
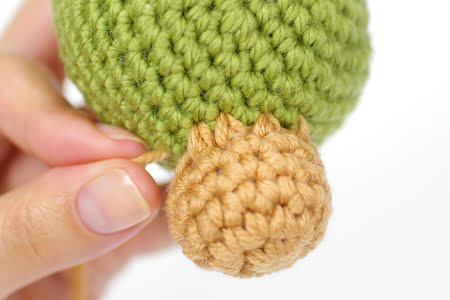
4. Repeat steps 2 and 3. Make 2 – 3 stitches without pulling the yarn tight – this way it’s easier to see what you’re doing. Then grab the yarn and draw the stitches very tight.
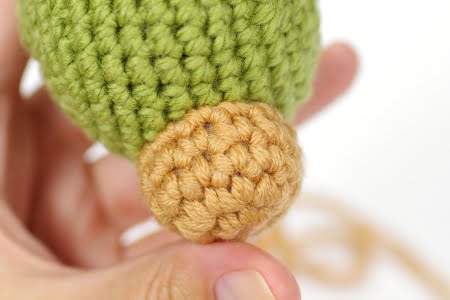
5. Just keep repeating steps 2 – 4, going all around your piece.
