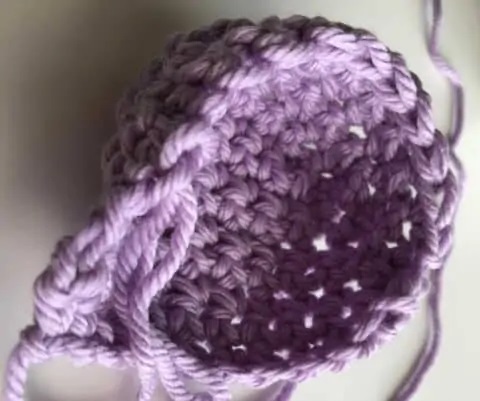
Short Row Toes and Heels are worked in 2 sections. We’ll start with the first.
Section 1
Step 1: Crochet until you have 1 stitch remaining and unworked.
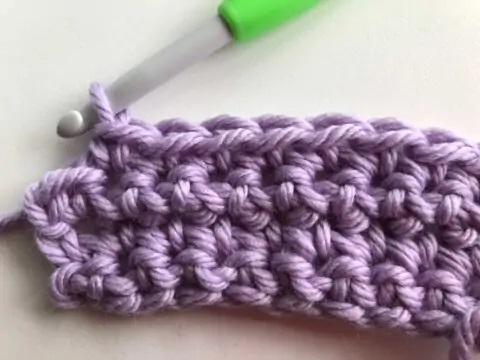
Step 2: Ch1 and turn. This will make a little stair step. This is what you want.
Repeat the above 2 steps for every short row. I suggest that you work an even number of short rows. It’s just simpler this way. If you’re not following a pattern, I suggest that you leave half of the stitches unworked in the middle. As an example, if you started with 20 stitches for your toe or heel, you’d leave 10 unworked in the center. These center stitches are what will be at the very edge of the toe or heel of your foot.
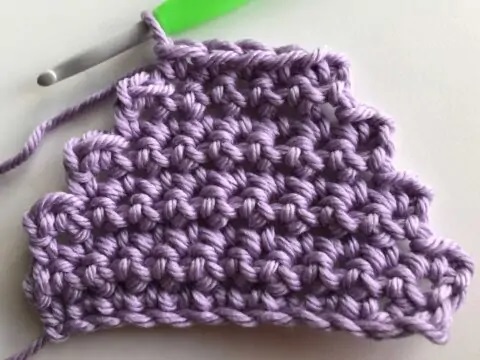
Section 2
You’ll be forming the other half of the toe or heel and creating the “cup”.
Setup 1: (Note that you already turned your work in Step 2 above, so you’re ready to work the next row). Crochet until the very end of the row. I suggest you count so you make sure you’re getting everything.
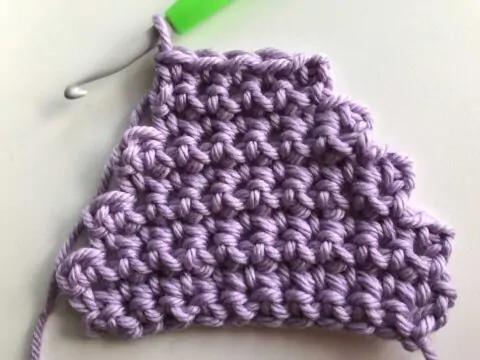
Setup 2: DC in the first Stair Step. This will be down a few rows. This means that you’ve worked one additional DC than what you had.
Setup 3: Work a Slip Stitch in the side of the row below it. This Slip Stitch will work like a Ch1 and you won’t work in it in the next row.
After the setup, you’re ready to work the repeated steps.

Step 1: (remember to skip the Slip Stitch). Work DCs across the row. Keep in mind that the number of DCs is one greater than the previous step.
Step 2: DC in the first Stair Step. This will be down a few rows. This means that you’ve worked one additional DC than what you had.
Step 3: Work a Slip Stitch in the side of the stitch in the row below. Just like previously, this Slip Stitch will take the place of a Ch1 and you WILL NOT work in this stitch in the next row. Turn.
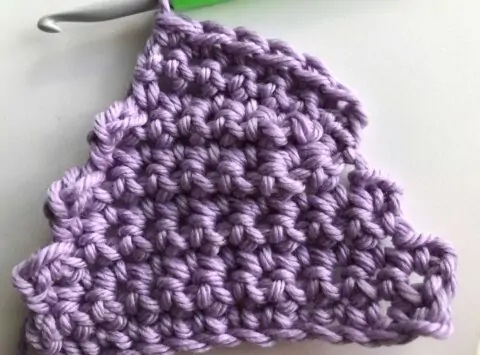
Repeat these 3 Steps until you’ve gotten back to the number of stitches that you started with. You’ll have also created a little cup for the heel of your sock!
